Trying Tailscale.
Like most folks working in infrastructure engineering in 2014, I really enjoyed Google’s BeyondCorp whitepaper. My foremost personal interest was grounded in the fact that Uber’s contemporaneous security implementation didn’t include a VPN, so it was interesting to see a well-thought description of fostering security without over-reliance on a hardened network for employee devices. I had a second, longer-term, personal interest as well, which was never again having to argue with a coworker about why they needed to log into the VPN before accessing a secure resource.
For both of those reasons, I’ve been following Tailscale with interest, and set aside some time to setup a personal Tailscale environment, including setting up their Golink tool to get a feel for it. These are my notes from that experience.
Initial set up
I signed up following the “Use Tailscale” button on the pricing page, using the free Personal plan. At that point, I had to select an identify provider, where I selected Google.
Next, I was asked to download the client for OS X for my computer, which pulled me over to the App Store to handle the installation, which was quick and intuitive. Then I opened the signup email on my phone, which linked me a download page for the mobile client, and was able to quickly install that as well.
Once I’d setup my phone, the website automatically refreshed to show the second device, and prompted me to send a ping.
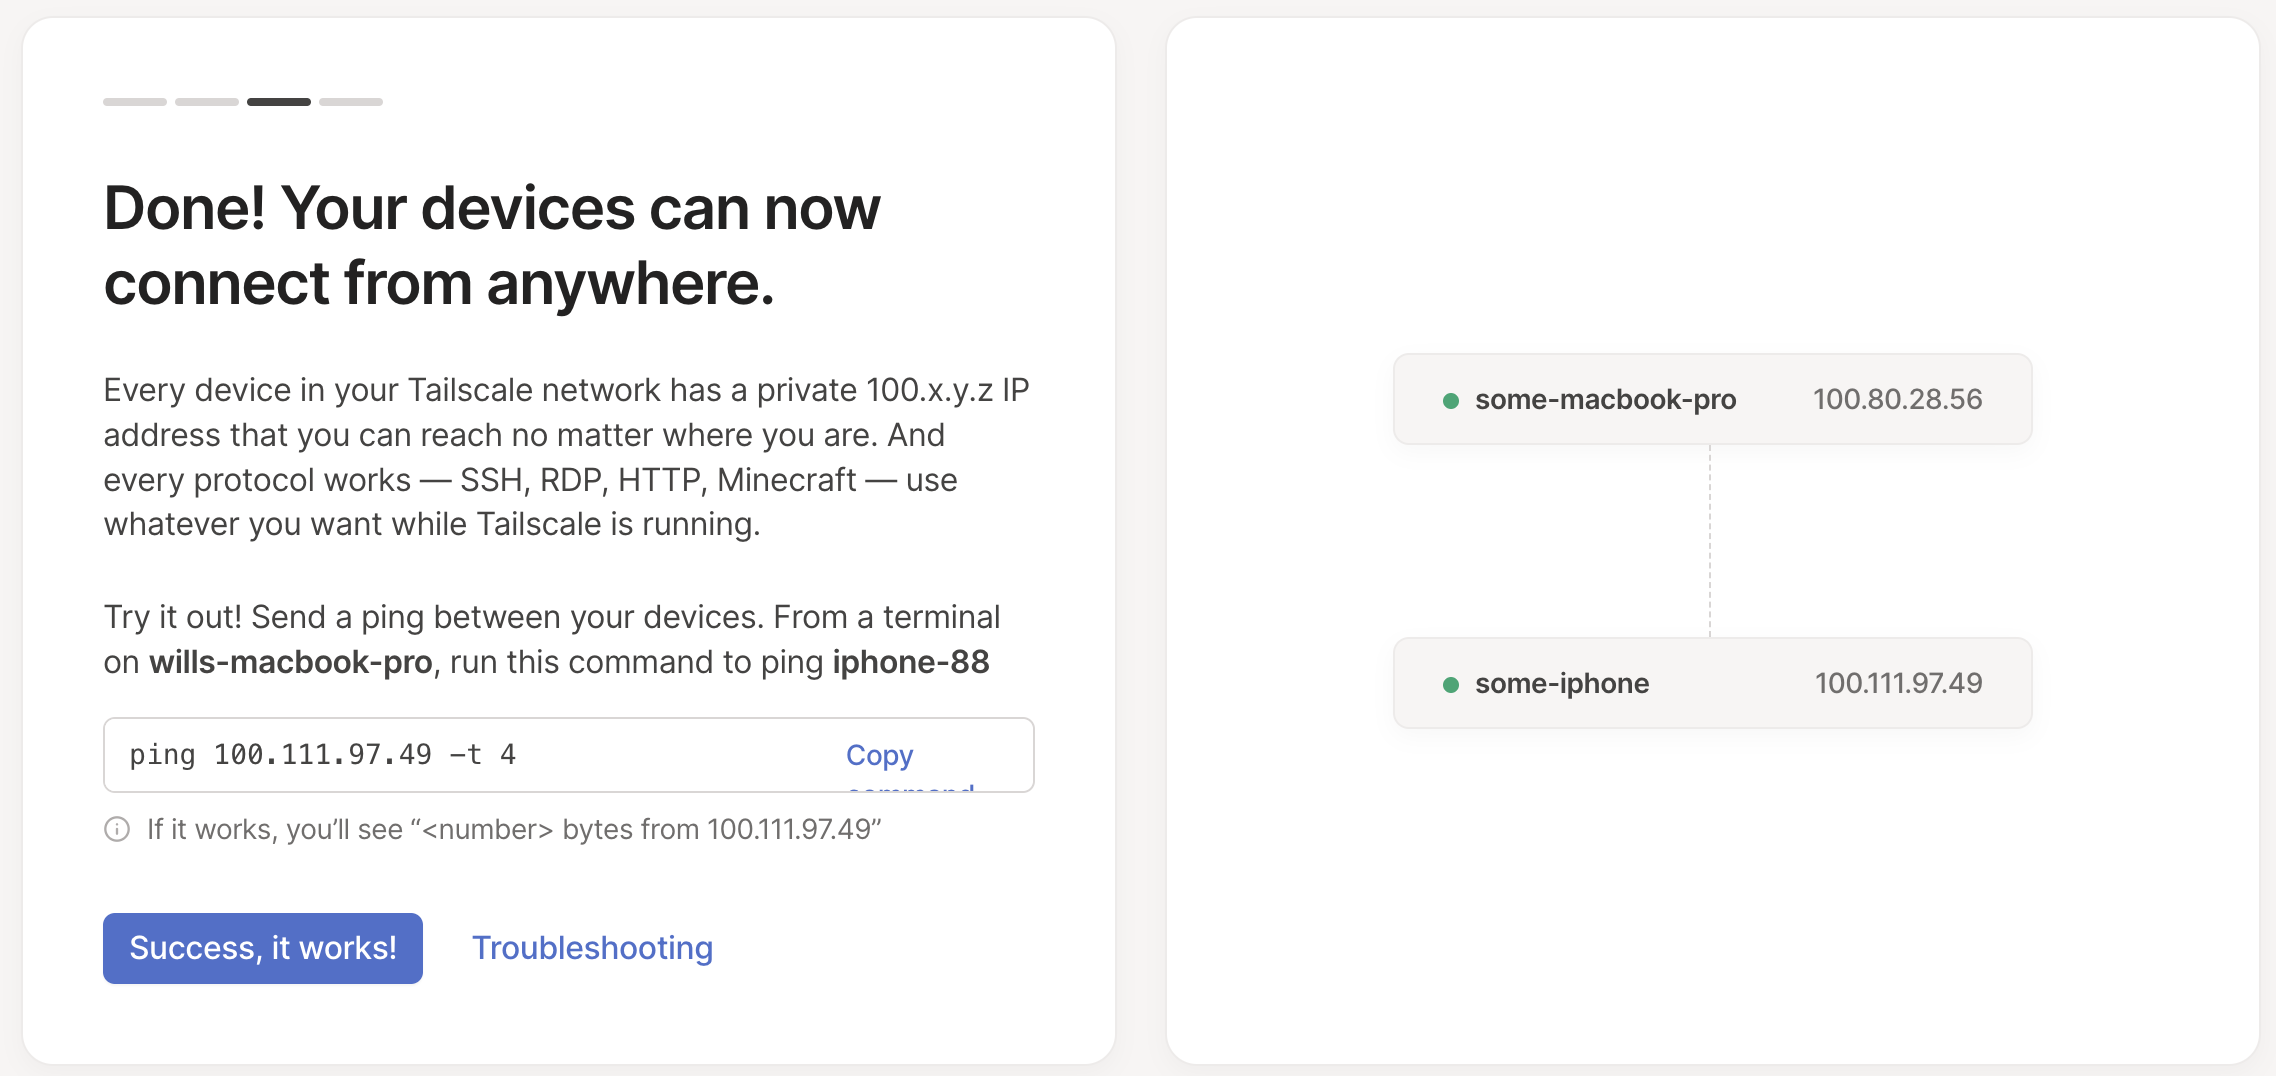
Pretty excitingly, this actually worked! This was a genuinely delightful setup experience. Within a few minutes, I’ve been able to privately connect two devices, without almost no setup.
Exposing local port over VPN
Now that I had the basics running, I wanted to test connecting to a local instance of my blog via the VPN. First, a quick confirmation that this doesn’t work.
curl 100.80.28.56:1313
 curl: (7) Failed to connect to 100.80.28.56 port 1313 after 3 ms: Connection refused
OK, that makes sense because the blog is binding to localhost rather than an externally accessible ethernet interface. Let’s try to change that, going from
hugo -D serve
to instead running
hugo -D --bind 0.0.0.0 serve
 Web Server is available at http://localhost:1313/ (bind address 0.0.0.0)
Now I’ll try that curl again:
curl 100.80.28.56:1313 | head -n2
 <!DOCTYPE html>
 <html lang="en-us">
And it works! Let’s also verify we can access it from my phone, which is probably the more interesting test: that works too! Although all the links in Hugo itself don’t work because they are using absolute URLs with localhost, but that’s a Hugo problem (that I imagine is a minute or two of Googling to fix), not a Tailscale one. Pretty neat!
Can I get friendlier DNS?
Typing out 100.80.28.56 is slightly annoying,
so I was curious if I could get friendlier DNS names.
It turned out that this already worked, e.g. some-macbook-pro:1313 already went to my
blog served off my laptop (although it took a few tries to convince mobile Safari it wasn’t
a search query).
(I think this is the “MagicDNS” feature?)
Golinks
Alright, so at this point I have things working pretty well for the basics, and the next task is setting up their private go links service. I followed along with the instructions in the tailscale/golink repository.
First, I cloned their github repository (as an aside, quick plug for the joys of letting 1Password run your ssh-agent, particularly if your keyboard supports Touch ID):
git clone git@github.com:tailscale/golink.git
Then I built it locally to verify it works:
go run ./cmd/golink -dev-listen :8080
Which failed because I’d forgotten to actually cd into the golink directory.
So then I reran it from the right location, and it worked.
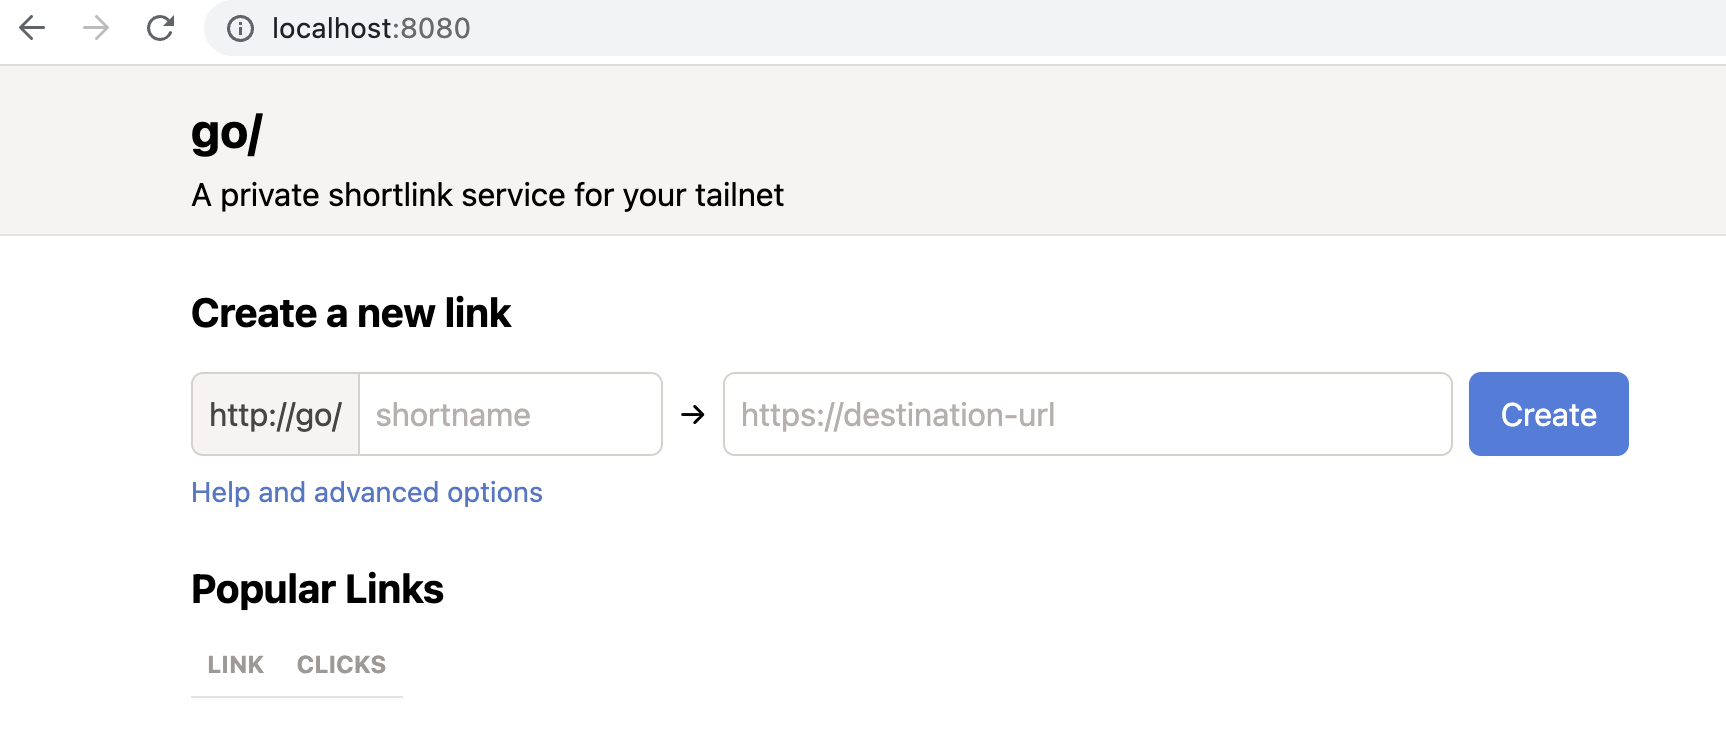
To give it a try, I created a link between write and the Google doc where I keep
a list of topics I want to write about, then verified it worked by going to
localhost:8080/write, which redirected me as expected.
Next step is getting this thing exposed to my phone as well, starting by creating an auth key.
Ok, before creating the key I need to create an ACL tag, and after clicking around at random for a bit I’m not sure how to do that, so I guess I have to read the support article. Oh no, I have to manually edit my policy by hand to accomplish this, that’s mildly concerning.
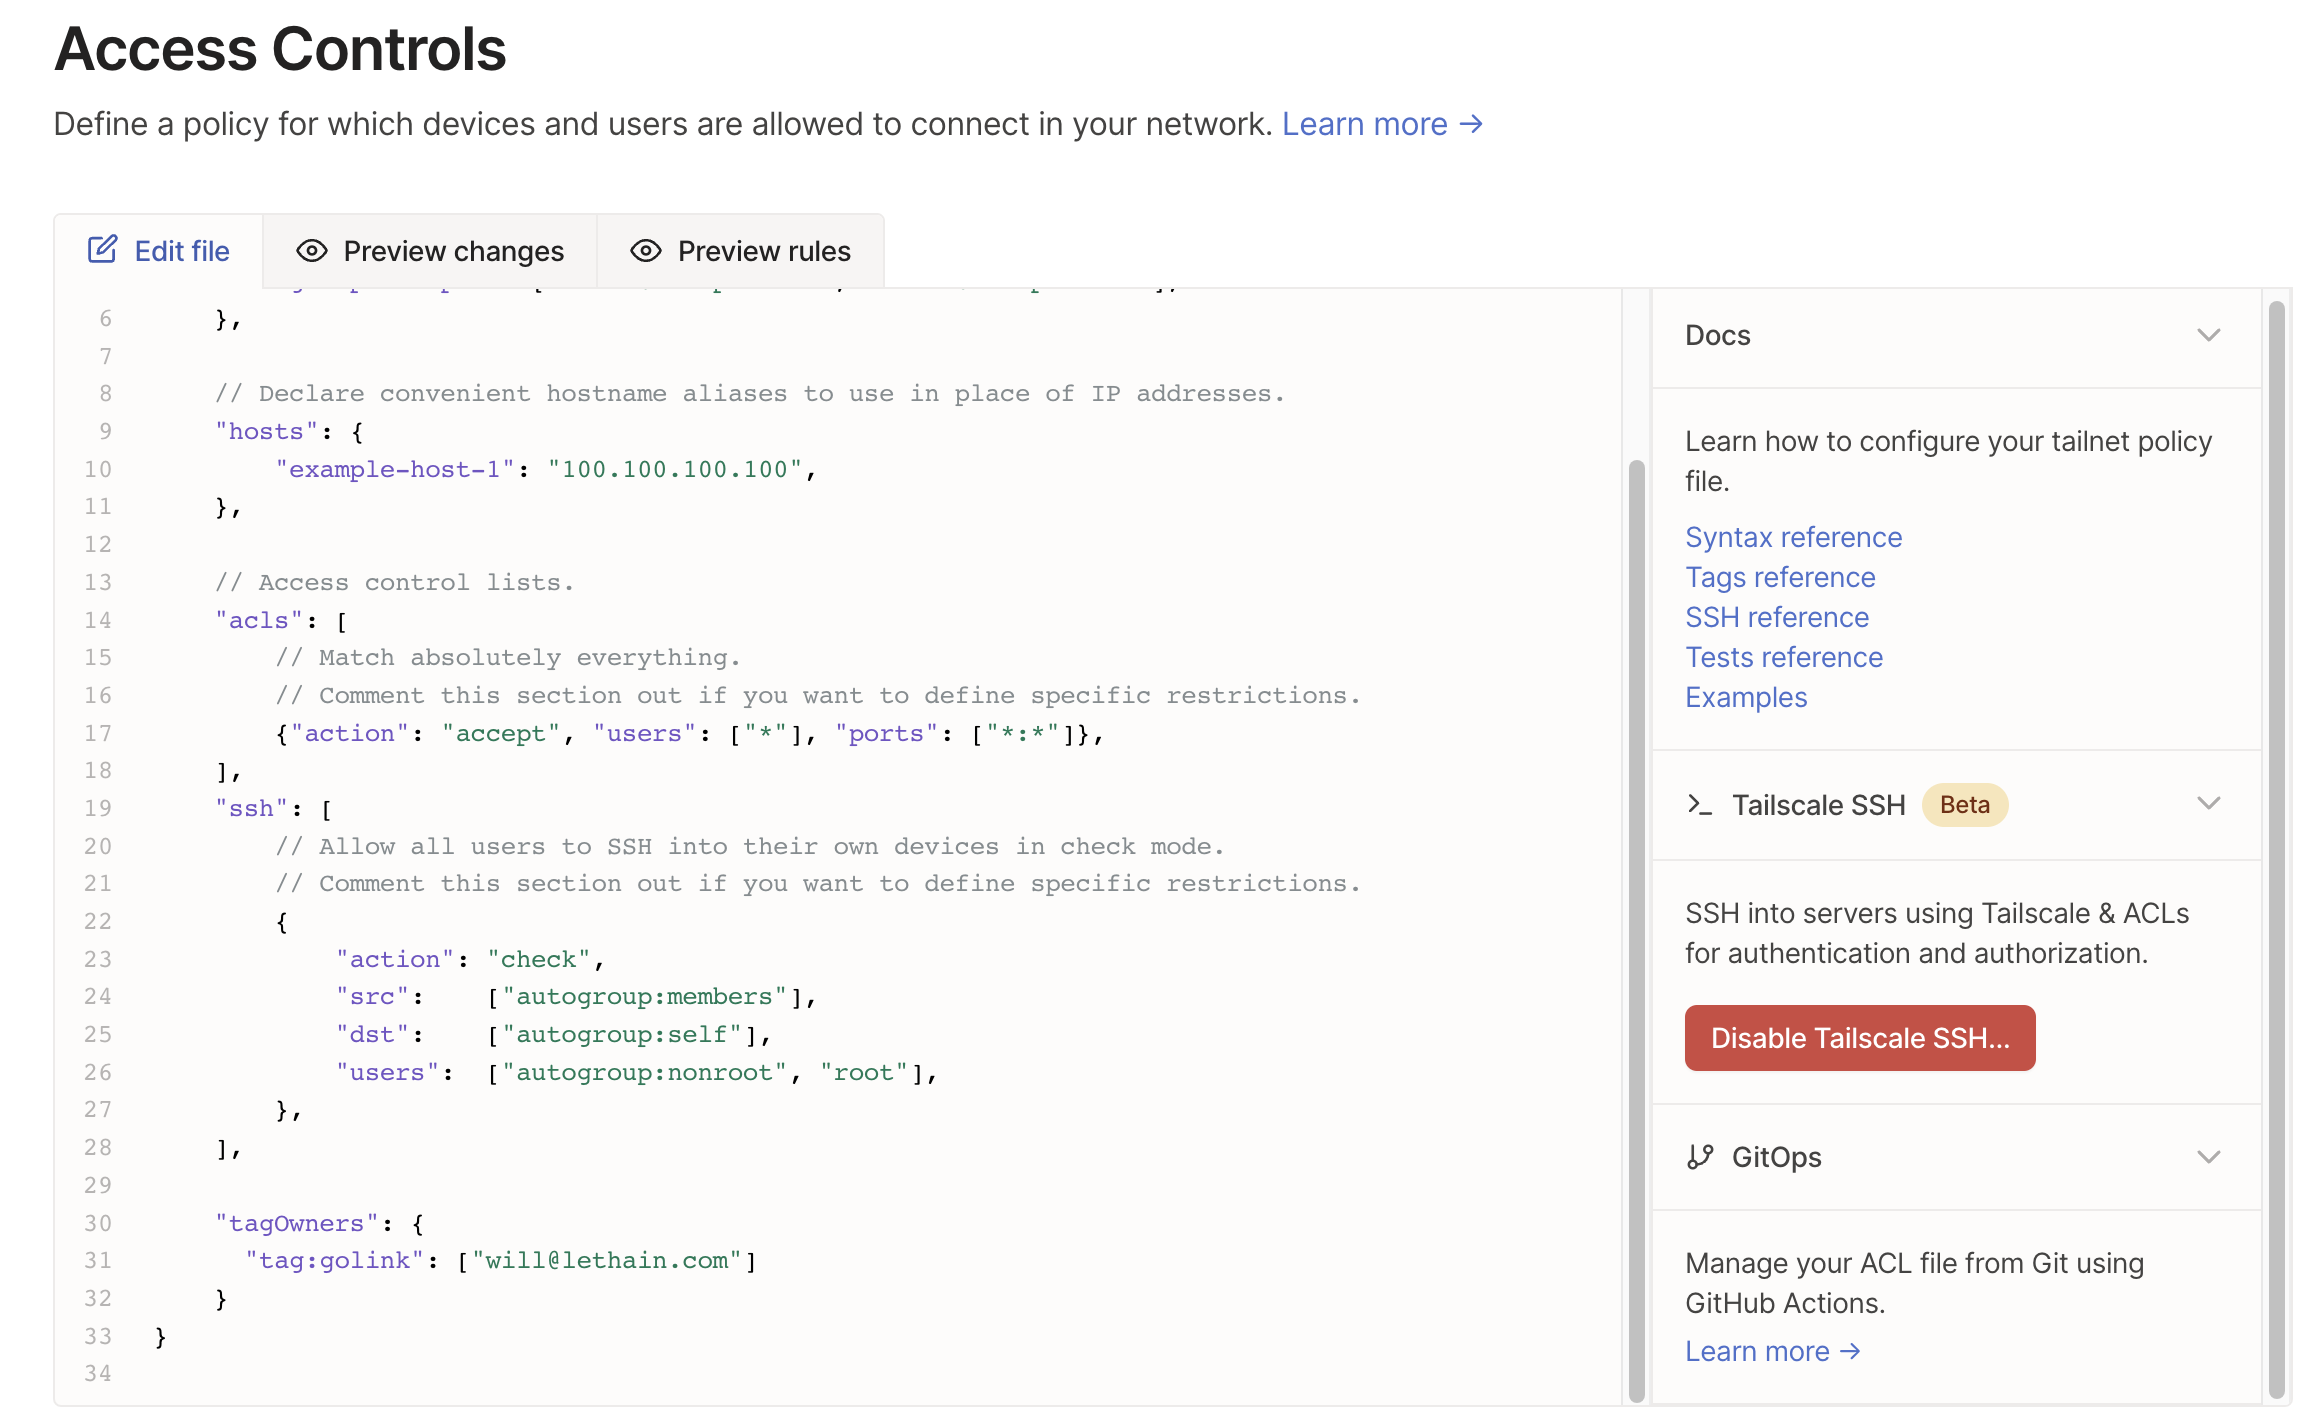
Hmm, that seems to have worked! So now back to creating an auth key.
It’s straightforward to add the new tag:golink tag. The only thing I don’t quite understand is how to
follow the instructions saying I should eliminate the key expiration (the UI enforces a 1 to 90 setting),
but that’s fine, just going to power through that one.
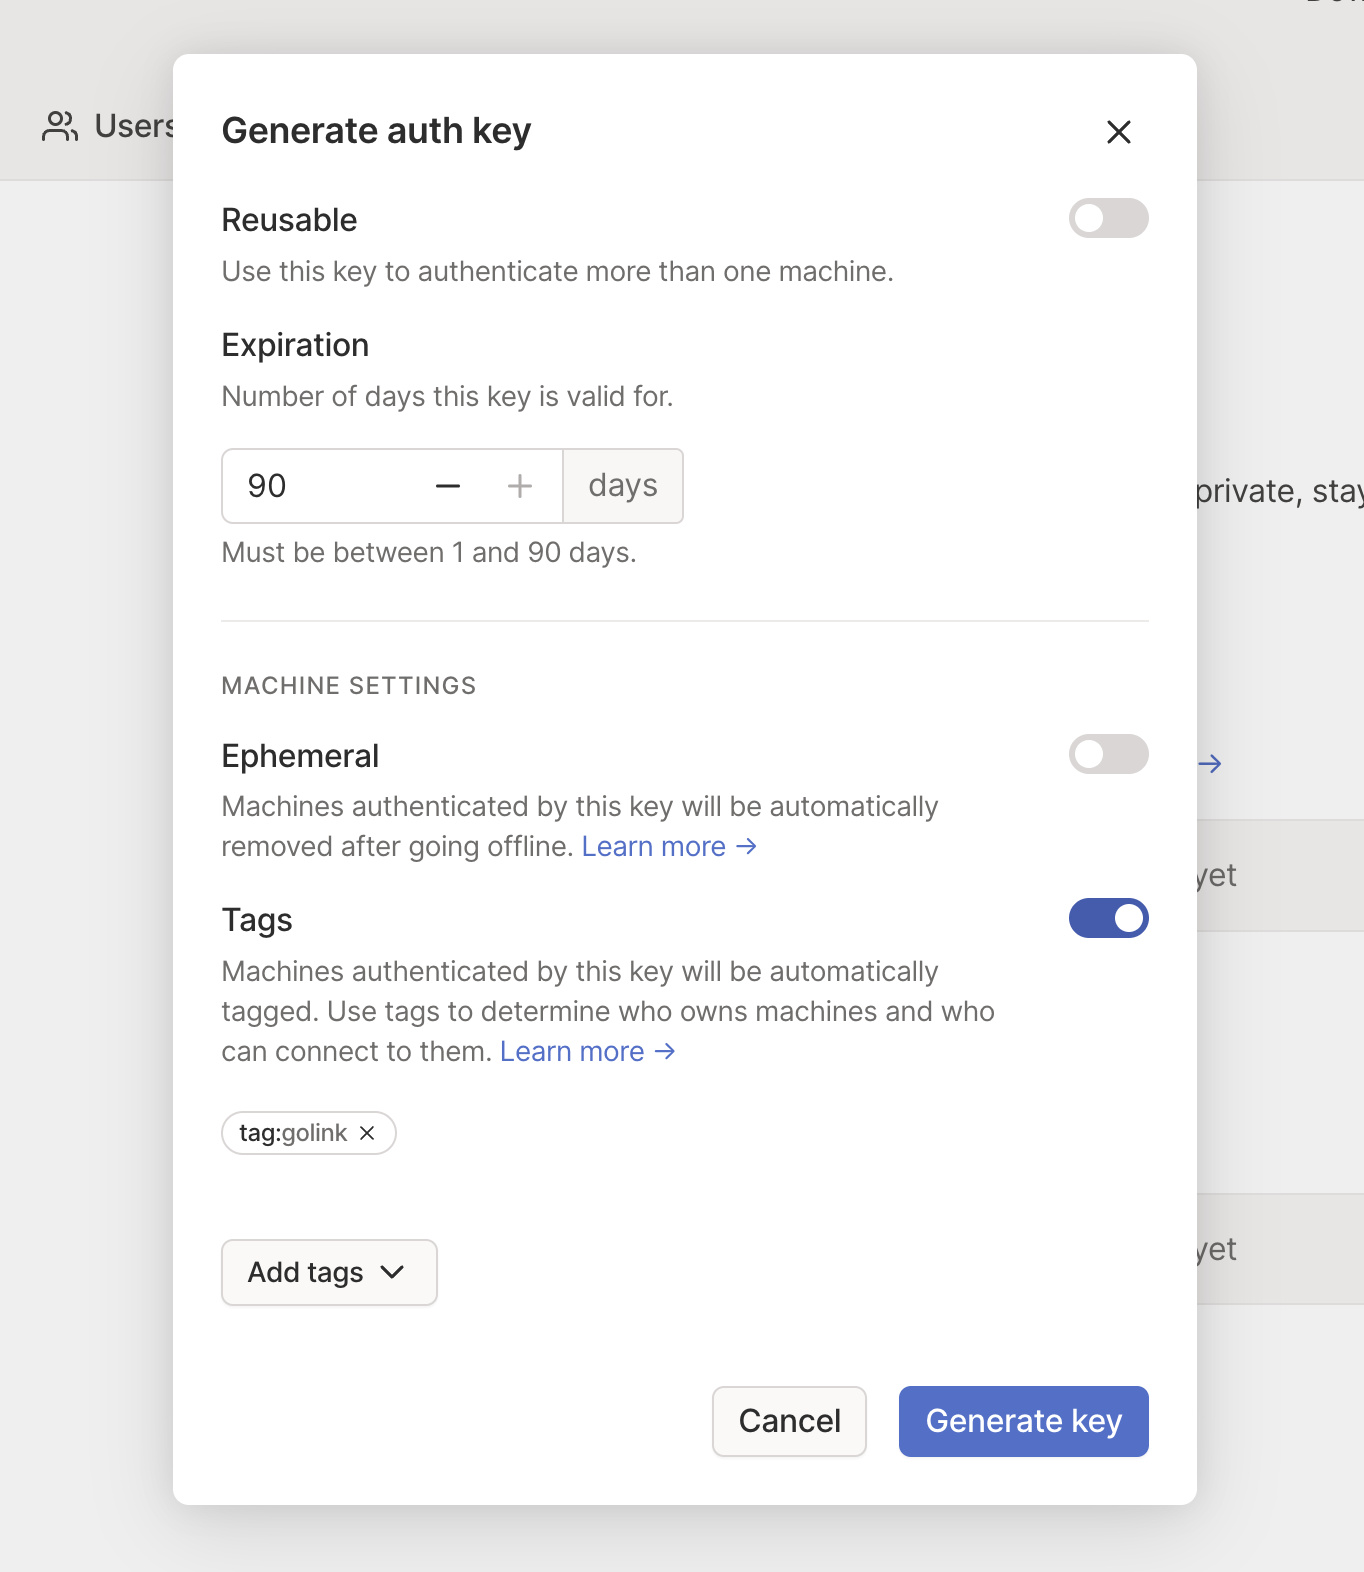
Now that I have my key, I restart the service using
TS_AUTHKEY="tskey-auth-<key>" go run ./cmd/golink -sqlitedb golink.db
The server boots up cleanly, and then the final test is to go to go/ in my browser
and to see if that works.
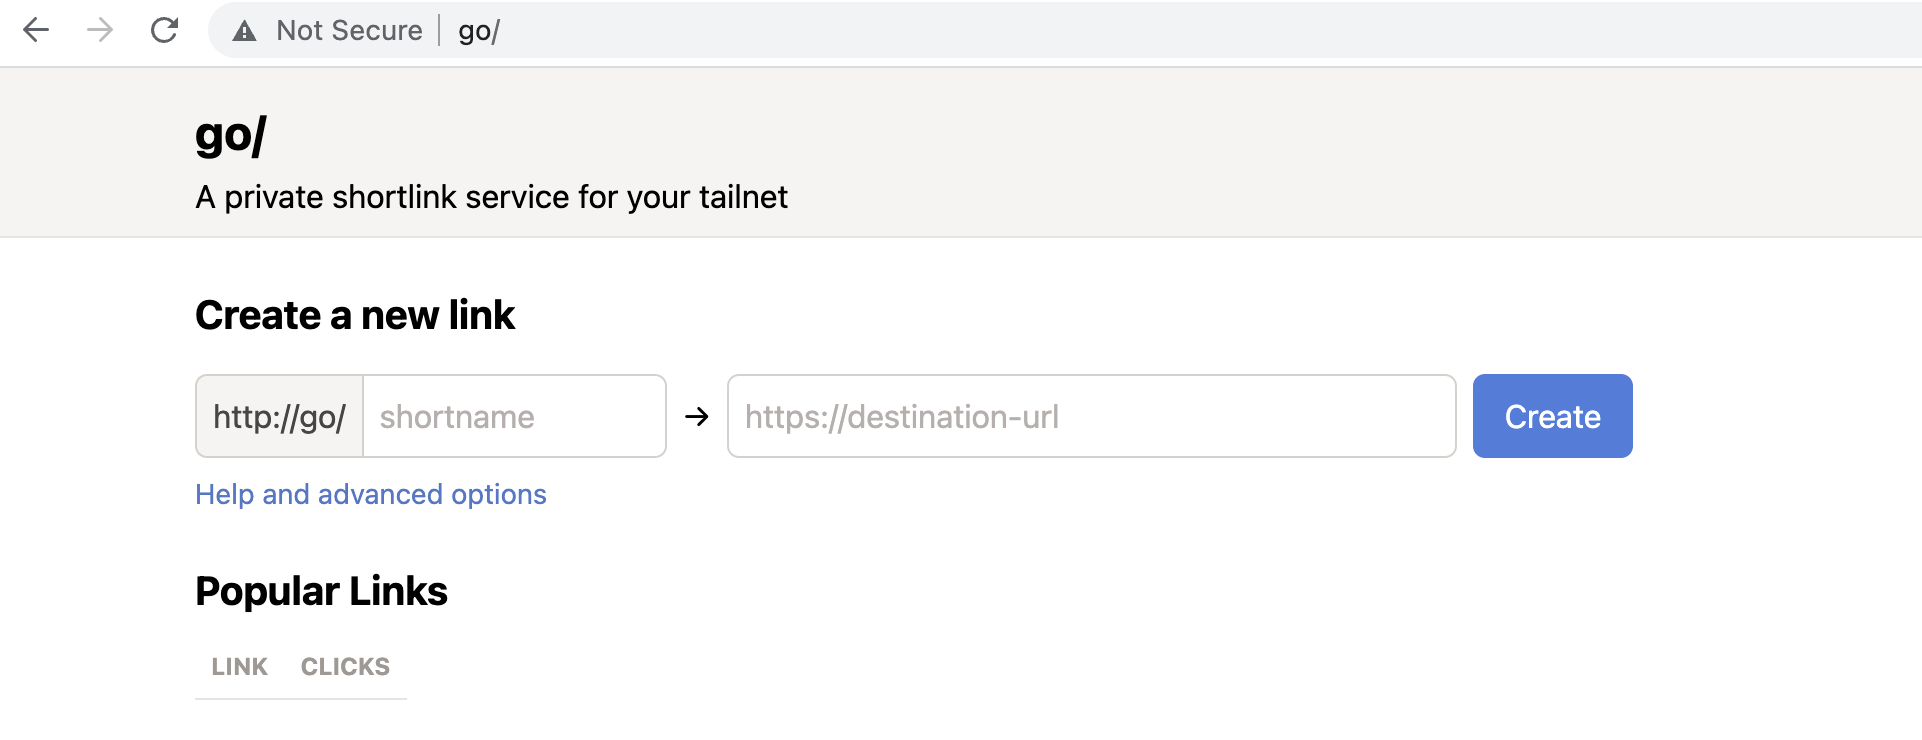
And it does work, accessible both from my laptop and my phone. Mission accomplished!
As a side note, when I return to the Machines tab, it does appear that key expiry is disabled for this service,
although I have no idea why it’s disabled, maybe because I added a tag?

Not a deal breaker by any means, I am sure I could dig in a bit to figure it out, but it does stand out as one of the two places where I experienced a non-sequitor in my experience.
What was confusing?
All of the issues I found confusing are very minor, and reflective of being a totally new user. Further, I was able to resolve them quickly, without asking for help, which highlights that generally Tailscale is very well put together. Nonetheless, for completeness sake I’ll list them:
- Why is the expiry disabled on my golinks service? Is it because I added a tag? If so, why does the expiration UI still show up as enabled, if the value there is being ignored?
- When I wanted to add a tag to my new auth key, it didn’t direct me towards the resources where I can create a tag. True, it did direct me towards the knowledge base article on the topic, which is OK, but would have loved to have been directed to the policy editor
- I find the placement of auth key issuing UI to be a bit counter-intuitive (Setting, Personal Settings, Keys).
I expected a link from
Access Controlstab to issuing keys.
What was good?
Overall, I think Tailscale is a delightful experience. It was quick to install, the UI was intuitive, the right documentation was almost always one click away. Most importantly, it was easier to get working myself than to get most corporate VPNs setup and working, while playing nicely with my existing SSO providers.
Overall, if I was setting up a personal VPN for myself or a small business, I can’t imagine using something other than Tailscale, it’s simply quite nice. Similarly, if I am building a new developer or infrastructure product in 2023, this is an onboarding (and overall) experience that’s worth borrowing from. (I suspect that it gets much more interesting once you start managing a real policy file, but I’ll leave that for another day!)
So far, it seems like Tailscale is doing an excellent job of expanding marketshare by growing with their existing users, but I’d love to see more from Tailscale push on how companies can use Tailscale to simplify both their security and their compliance controls (SOC2, HITRUST, etc). Figuring out a clear value proposition wrt improving one of these dimensions is their most likely path to increased enterprise adoption, which I imagine will be important to their long-term growth. (You can certainly argue that price is another way they could compete with existing vendors, but ugh, I don’t think you want to be competing on price in the VPN market.)